Showing posts with label Home improvement. Show all posts

Sunday, 1 June 2014

June? Already?

I don't know quite how, but May has pretty much passed me by. I was dimly aware of it at the time, indeed, there were a few memorable bits and overall, I think it was generally quite enjoyable, but suddenly, somehow, I found myself turning over the calendar this morning for the first day of June.

JUNE!

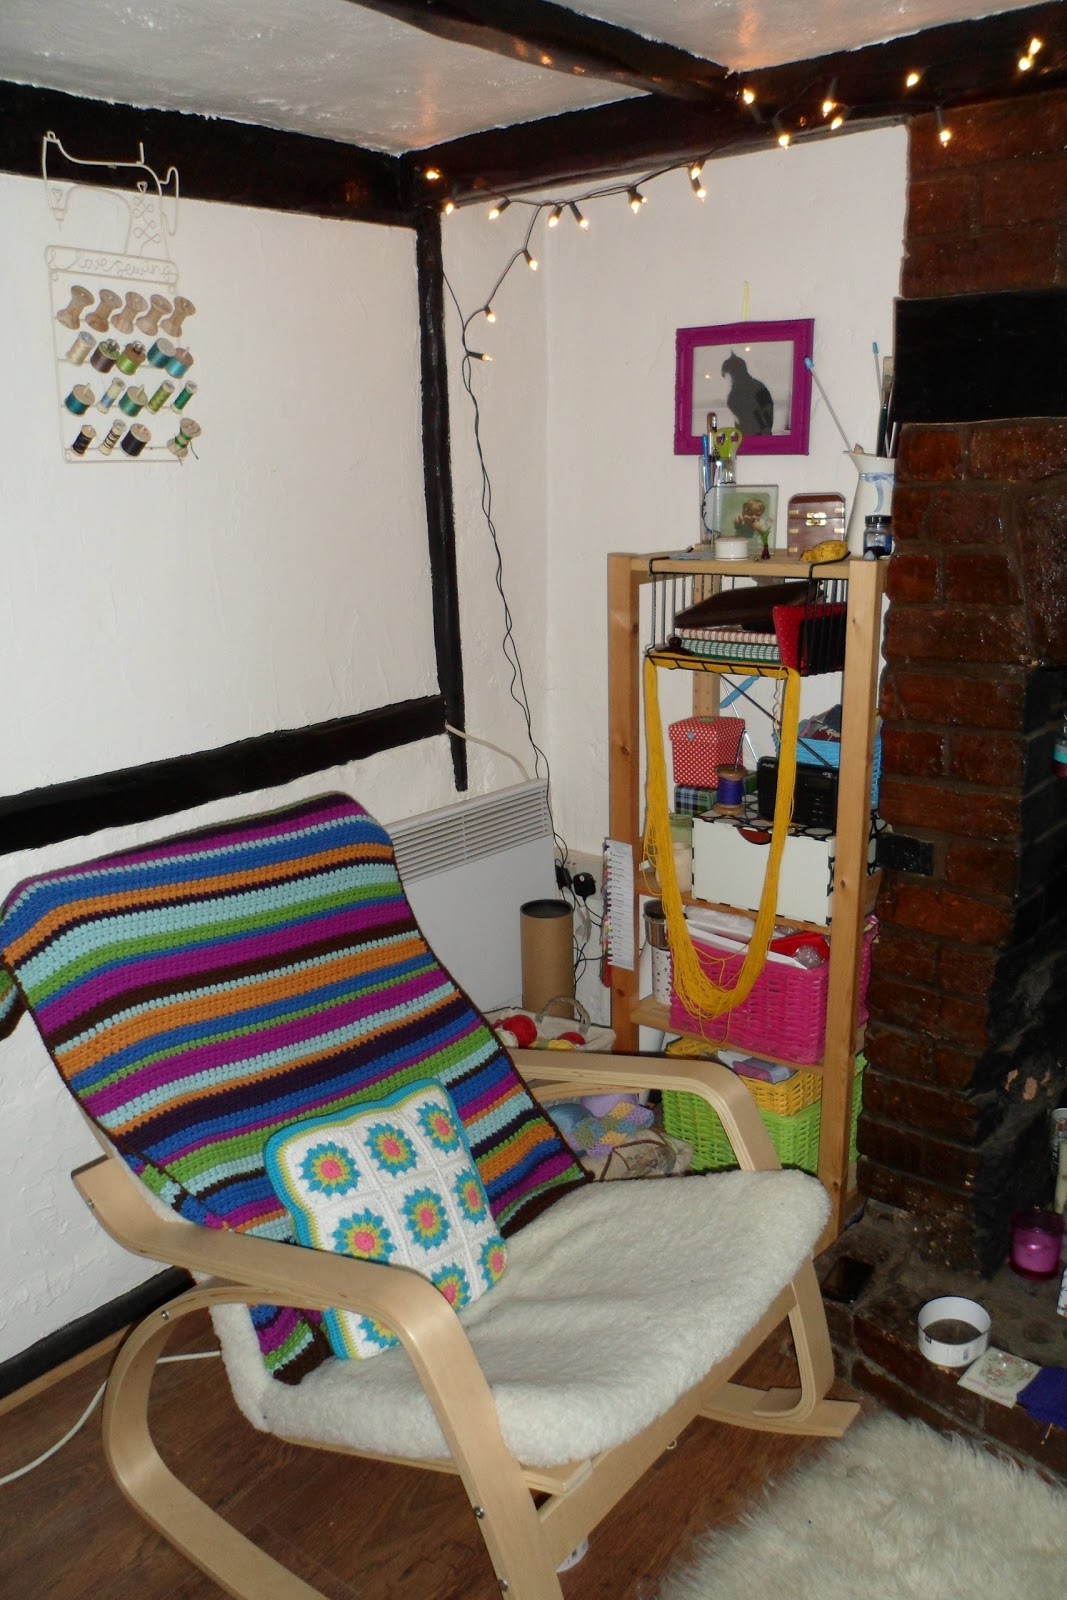
So, what's new?  Well, there has been a spot of reshuffling in the Sewing Room to make space for more shelving.


Of course, about three days after the shelves were assembled and stacked and looking beautiful, a batch of yarn that I'd had on back order arrived and now they're rammed. Ah well.


I had grand plans for the garden, but have so far been thwarted by some irritating decking screws. You know the square drive ones? The ones that are described in DIY shops as 'professional' deck screws? Those. Actually, don't get me started on the decking. The screws are the only 'pro' bit about it...

Anyway, while I've been grumbling about the decking, the pots that I brought from the cottage (and whose contents have been patiently waiting to be planted out) have burst forth. There's a definite whiff of honey and lavender in the air from the alyssa and er, lavender.


A couple of weeks ago, I noticed that there were sparrows everywhere.  This weekend, there seem to be robins at every turn. The bird feeder empties as fast as I can fill it and the days are punctuated with screeches from squabbling starlings.


And there has been crochet. If you subscribe to the newsletter, you'll have received the Daisy Hexagon pattern. If you read Craftseller, you might have noticed this quick little brooch project, and if you've had cause to venture into my living room, you'll have spotted that this has now become a cushion cover and is awaiting some poppers to finish the closing.


So maybe I did do something with May, after all...?

Sunday, 4 August 2013

Painting

Ugh.  Painting.  It's one of those jobs that in the abstract seems like a fun and exciting thing to do. In the actual, it's a load of faff with masking tape and undercoats and by the time you finally get to sloshing on the colour you want, you're sick of the sight of the paint roller.  Well, you are if you're me.


So far, the minty green kitchen has been transformed into a fabulous mediterranean blue and the living room is no longer pale plum with sludge brown accents, and is instead a lovely crisp green.


These were the easy rooms to decide.  There was no arguing.  Once I'd told The Beloved that magnolia was not an option, green and blue were easy to agree on.  I'm not a fan of magnolia.  He is.  As it happens, he's upstairs right now painting the bathroom magnolia because we have no choice - the tiles won't go with anything else and right now, we have enough to be getting on with without retiling the bathroom.

Anyway, I digress... so the colours for the main rooms in the house were easy to decide.  What I'm struggling with is the sewing room.  It's currently a sort of pinkish grey, which I don't really like. It's one of those colours that's neither pink nor grey and I just want it to be something, you know? Occasionally, it even looks purple. Its saving grace is that it's a good background for stock photos. I did try to look to the furnishings for inspiration, but there's too much going on.  This is what's behind me as I type...


I would really like to paint the room white and have one smack-you-in-the-face orange wall, however I just can't find an orange that I like.  They all seem either brown-ish, or peach-ish and not straight-off-the-satsuma-ish at all, which is what I'd like.  So taking it all down a tone (and bearing in mind how useful the grey-ish walls are, I'm now thinking grey with a strong (slightly mustard-y?) yellow for the wall behind my desk.

I know.  Grey.  Question is, how dark/light?  I've asked Sean, but he's not been very forthcoming.


It's currently between light rain (top left) and grey hints (top right).  I already know what shade of yellow (I just haven't got a tester to show you) and it will go with either.

What do you think?

Wednesday, 3 October 2012

Curtain ties

Ordinarily, I would wait until finishing a big project before I started playing with the leftover scraps of yarn to see what I could make.  Not this time. I ran out of yarn for the ripple blanket (oops!) and while waiting for more to arrive, the lovely colours were just too much to resist.


Sadly, not everything at The Hookery is as colourful as I would like it to be. Take my downstairs curtains for example: they're brown and suede-y. I hate them. My little living room can get quite dark as the enormo-hedge in the lane blocks out a lot of light, so brown upholstery is a no-no. They're not mine though and I can't justify buying new curtains for the living room and I don't have anything in the fabric box in enough quantities to make new curtains. For now, the brown will have to stay. No reason they can't have funky curtain ties though, eh?


Yarn scraps + beads rescued from a broken necklace = one bunting curtain tie!


Yes, *one* bunting curtain tie. I got distracted before I could make the other, but I'll write the up the pattern as I make the second one and post it here in case anyone else is cursed with drab curtains.

Friday, 7 September 2012

A not-so-slapdash planter

Having remodelled my annoying shelves into something more practical, all I had leftover were the top of one of the original uprights, a couple of bits of plank cut-off and some square bits of wood which used to be the shelves. Four bits of 'shelf', as it happens. All the same size.


What to do with them? Well, first I removed the metal bits which were attached to them. They were no use to the planter, but they were quite good for prising the lid off the paint tin and then stirring it.


It looks more dangerous than it was, honest. They were only glued in place. Then I calmly walked away from the DIY armageddon that was my kitchen and went to peruse brackets, braces, flanges and the like at the local hardware store. I came back with (I think) a set of corner flange plates and corner braces. Then it was just a case of screwing everything together. Although the screwdriver is in the picture, I actually used the drill for this bit - much faster!


Having gotten it all assembled, I then slapped on the paint. Whilst at the hardware store, I'd picked up some sort of Ronseal product in a shade called 'elderflower'. It's cream.


After coat number one, I had a Great Idea. I grabbed the staple gun and some old compost bags and lined the planter with those. I was originally going to look for a big square pot to stick in it. Shortly after firing in the last staple, I realised that staples and black plastic weren't going to have quite the required structural integrity to hold what would probably be about 40 litres of compost plus water and plants.

No matter. A couple of the bits of leftover planking were just the right size, so I screwed these to the bottom (those corner plate thingies had a convenient hole for just such a purpose). Hurrah!


Only after coat number two was applied did I realise that it was quite a sturdy planter. It doesn't wobble and it has no discernible 'wonk'. All its angles are as they should be and its straight bits are straight.

I think I might have managed some un-slapdash DIY.

Monday, 3 September 2012

A lick of paint...

...makes such a difference!  In between making my slapdash shelving, I was also painting an old bookcase.  It has been kicking around at home since time immemorial and nobody really likes it.  I adopted it when I moved out, mainly because I couldn't afford a nice new one (and my mother, who cannot throw anything away, was glad to see the back of it).


My original plan was a sort of off-white shade, but when I got the undercoat on, I spotted a problem with this.


Far too anaemic for a room with white walls.  Then I remembered the tester pots that I'd been using to paint some plant pots. There was half left, so I decided on blue.


Much better!  I went back for another couple of pots and of course bought the wrong shade.  Never mind, there was enough in the pots to cover the whole bookcase with a good coat.  I should add that being wholly incapable of Doing Things Properly, I was using emulsion.  Yes, that matt stuff that's designed for walls.  No matter, in my collection of spray paints, I had a can of 'clear', so I used that as a varnish layer on the top.


Much, much better!  What I had meant to do, having started in one colour and ended with another, was lightly sand it all to give it a bit of a distressed look.  I forgot.  You can just see in the photo above that some of the spray got a bit bubbly though, so in my usual DIY spirit of botching, I sanded it post-spray instead.  It worked fine.

The whole thing has a nice smooth finish without being glossy and there are places where the paler layers and even the orangey wood pokes through, but in a good way.


I hereby declare that I love my new-look shelves!


Sunday, 2 September 2012

Slapdash shelving

September at The Hookery has kicked off with a DIY bonanza.  Storage is a bit of a problem here in the cottage, mainly because the ceiling is so low downstairs that none of my bookcases fit in the living room.  The only tall shelves that did fit were a cheap set from Ikea which were too narrow to be of much use and pretty wobbly.  These shelves, in fact...


Can you see them tucked away in the corner?  They were a nightmare to try find anything on, but this was really the only place they could be conveniently put.  Anyway on Friday evening, I had a brainwave.  What if I chopped the tops off the uprights and used some leftover planking to make some shelves (because, you know, when you live in a tiny house with low ceilings, a 2m plank of wood is what you expect to find tucked down the side of the oven...)?  A shorter, broader set was just what I needed.  So at 9pm (sorry, neighbours...) I pulled everything off the shelves and got busy with the saw.


Apologies for the naff photos.  By this point, my camera was somewhere beneath all the stuff I'd pulled off the shelves and I had to use my phone.  Just as with the curtains, I shunned the use of proper tools like an appropriate tape measure (my old, fraying, slightly stretchy, dressmaking tape measure was fine, really...) and a spirit level.  Instead, it was all kind of botched together by eye.


Having satisfied myself that there was enough planking (I also recycled an old snapped plank), I went to bed.  I was up bright and early the next morning and busy with the saw again (sorry again, neighbours!) and soon amassed a neat little pile of bits to attach to the uprights, cannibalised from the bits I'd chopped off the uprights.  I was originally aiming for three shelves, but didn't actually have enough plank in the end.  Ah well.


A few screws, some attention from the drill and what was left in a can of lilac spray paint and ta-daaah!


A great improvement on what they were, but by no means perfect.  One plank is missing a screw at one end because it would have meant putting it through a knot in the wood and the drill was having none of it.  And I was getting tired.  Also, most of the planks have a pair of holes at the end just in front of the screws because I attached the planks, then realised I'd put the uprights too close together, so I redid them.  A conscientious shelf-maker would probably have either bought some wood filler, or done something clever with some glue and all the sawdust which was by then spread liberally all over the cottage.  I am not a conscientious shelf-maker.  I can cope with the holes.

As you can see, one sheet of the FT is really not enough to contain the spray paint excess.  What was I thinking?


To my great amusement, they are actually quite sturdy little shelves.  Definitely more so post-butchering than they were before.  Claire 1 - 0 Ikea.

Monday, 9 July 2012

Slapdash Curtains

WARNING!  If you are a professional curtain-maker, you may want to look away now...

I'm quietly convinced that the previous incumbent of my little cottage was a bit of an exhibitionist.  When I moved in, there were curtains in the living room, a blind in the kitchen and a blind in the bathroom that didn't actually work.  Nothing on the bedroom window.  Now, I don't know about you, but I'm not too fussed about people seeing me cook, or seeing me sitting in my living room crocheting away, but I'm not so keen on sharing my bedroom and bathroom habits with the world.  I managed to fix the bathroom blind by dismantling and reassembling it, but the bedroom required a stitchy solution...

How to make a pair of slapdash curtains.

1)  Dig through your fabric box.  Admire all the contents.  Pack the fabric box away.

2)  Go to bed.  If you've done #1, it will have taken you most of the day.  Wake up the following morning knowing exactly which bit of fabric you're going to use.

3)  Check that you've got enough fabric.


I decided that I probably did have enough, so duly went ahead and lopped the piece in half.  Then I had a small panic attack and ran upstairs to peg the pieces against the window to double check.  A normal person would probably use a measuring tape.

4)  Find a lining fabric.  I had an old fitted sheet that was perfect for the job.  It also meant that it was ready-hemmed.  I hate hemming, but more about that later.

5) Chop 10 identical rectangles of fabric.  These will be the tabs at the top of the curtains which mean you can hang them.  No faffing with curtain tape.

6)  Fold and pin the side hems of the outer fabric.  Measure and cut the lining pieces and then slot them in under the side hems.  If you've used a fitted sheet, there will be one very crinkly corner of lining.  This is exasperating and you will need a cup of tea.  Or gin.


7)  Take everything to The Beloved's to press.  I don't have an iron, he does.  Maybe you have an iron too, in which case you don't have to drive to Milton Keynes for this bit.

8)  Get sewing.  By now, I was really hankering after a bit of hand sewing so I sewed all the tabs by hand and the side hems, attaching the fold of the hem of the outer fabric to the lining.

9)  Get bored.  Unpack sewing machine.  The stitches on the tabs at the top of the curtains and one side hem are neat and teeny and look like they were done by pixies.  The other three side hems look like they were done by a woman who realised she had made a terrible mistake but couldn't turn back now.  For the sake of my sanity, I chose to machine the tops.


10)  I pinned and tacked the tops in place.  I'd already cut a couple of strips of the outer fabric to use as a sort of placket (is that the right word?) to neaten the tops on the inside.  I usually just pin and go, but Old Faithful is in storage at The Beloved's so I only have my mini sewing machine here.  It's a plucky little thing, but I thought hitting a pin might be more than it could cope with.


Because I'm lazy, I just top-stitched the lot into place.  I did grit my teeth and hand sew the bottom of the placket-y thing to the lining.

11)  Like I said, I hate hemming.  Hemming is to sewing what sewing in ends is to crochet.  It's a fact of life that most of my sewing projects languish on a hanger for a month or two before I can face giving them a nice neat bottom.  So while the machine was out, and before I could think about it too much, I whizzed across the bottom of the curtains.

12)  Hang your curtains.  Try not to notice the wonky bits.


Photograph them from a suitable distance so that your blog readers can't really see what a botch job they are.  (NB, if you have to take the photo from the next room, you might want to consider putting them back in the fabric box and buying a pair)

Sunday, 2 May 2010

By hook or by crook

This is the first in a series of posts dedicated to some Folksters who helped me find a name for this blog.  In the end, 'The Hookery' came to me after cuppa No.2, but I see no reason to waste all their brainwork so I thought I'd do a few posts based on their suggested titles.  The Onestoppampershop (who makes some rather delicious flavoured candles) suggested 'by hook or by crook', which kind of describes the general feeling of last Thursday...

My brother gave me a picture frame for Christmas.  It's quite a nice one - turquoise, slightly retro-ish but more importantly, not a standard size!  Anyway, it's a lovely colour and I've been wanting to hang it for ages.  Its time had come.  It was going on the wall this week.  Definitely.  Absolutely.  No question about it.

My first thought on opening it was 'that'll look great with a black and white photo in it.'  So eventually (four months later) I got round to getting prints made of these...


Both pictures of Felix, who can be a bit awkward to photograph.  She usually looks grumpy as hell.

Anyway... got prints.  Got prints chopped to size.  Got home.  Realised frame had no hanging method on the back.  Managed to contruct complicated hanging method out of ribbon and a well-placed knot.  Hurrah!

Just as I was putting it all together, I broke the glass.  Bugger.

So then I put the whole thing aside and concentrated on something else.  Later that night, after a large glass of whiskey and an hour or so with the button jar...


Tadaa!  Not going to win any prizes, but I like it and it means my non-standard-sized frame can finally go on the wall. 

Now all I need are two brightly-coloured frames for the non-standard-sized prints.  *Sigh....*